Business Overview
- HOME > Business Overview > XF series
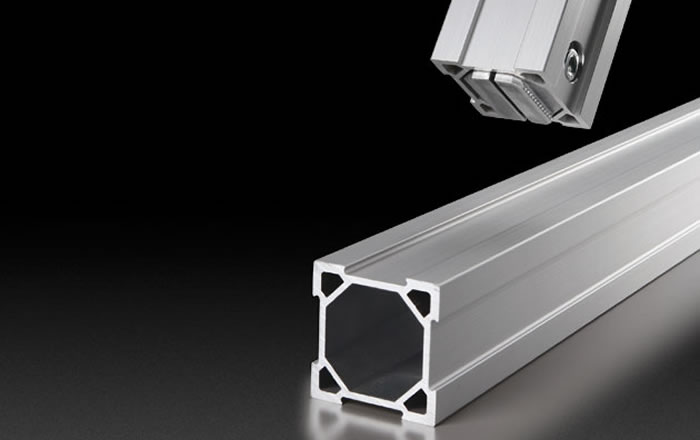
XF seriesXiphoid Frame
- With a new fastening mechanism of using a single bolt, XF series enable quick assembly of aluminum frames.
Product benefits:

-
- Less assembly work, more efficiency
- By simplifying a fastening method with the use of a single bolt, instead of two pairs of nuts and bolts, XF series realized short-time assembly.
-
- Rigid and light
- XF series are as rigid as and lighter by 10-20% than other series with thin walls and shallow slots.
-
- Clean and slim
- Shallow slots prevent dusts from accumulating on frames. XF series are suitable for customers pursuing cleanliness as well as rigidity.
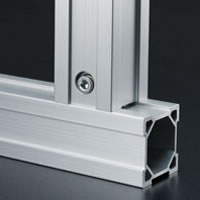
Additional frames are installable without disassembling previously connected frames
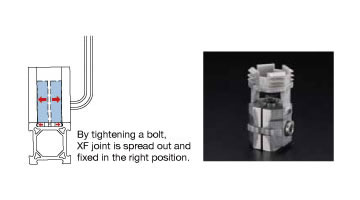
XF joints
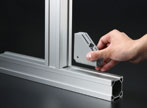
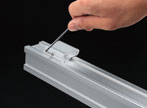
- XF series provide simple and easy connection. All you have to do is to lightly-press a joint-integrated frame vertically on the other frame and fasten two frames with a single bolt with a wrench. The integrated joint spreads itself out inside of the frame and pushes the frame out. Our newly-invented mechanism intensifies fastening power and, in this way, two frames are connected firmly with a single bolt. There is no need for processing frames and handling nuts to connect frames together. Besides, XF joint enables easy installation of additional frames. XF series can fulfill customers' needs for efficiency.
-
How to assemble
-
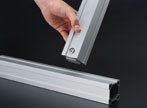
- STEP-1
- Put a joint-integrated frame vertically on the other frame.
-
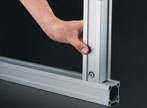
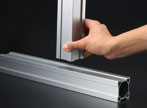
- STEP-2
- Press the frame lightly against the other.
-

- STEP-3
- Tighten a bolt with a wrench.
-

- STEP-4
- Finished.
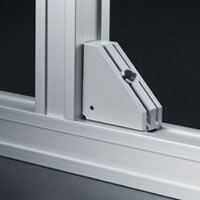
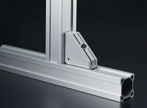
Corner joints
- Put a corner joint on the corner of two frames and tighten a bolt with a wrench. The corner joint spreads itself out and, with fastening power intensified by our newly-invented mechanism, two frames are firmly connected.
-
How to assemble
-
- STEP-1
- Put a frame on the other one.
-
- STEP-2
- Put a corner joint on the corner of two frames.
-

- STEP-3
- Tighten a bolt with a wrench.
-
- STEP-4
- Finished.
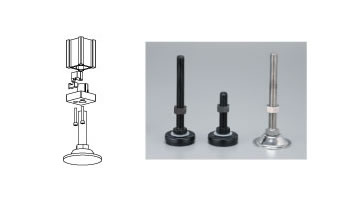
Adjuster blocks
- Set an adjuster block into the edge of a frame. Tighten two bolts with a wrench. The adjuster block spreads itself out and thus it attaches to the frame firmly. Screw an adjuster into the frame.
-
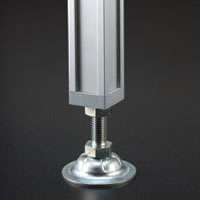
How to assemble
-
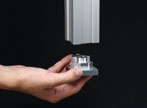
- STEP-1
- Set an adjuster block into the edge of a frame.
-
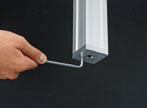
- STEP-2
- Tighten two bolts with a wrench.
-
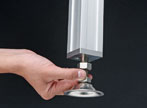
- STEP-3
- Attach an adjuster to the frame.
-
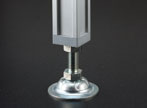
- STEP-4
- Finished.
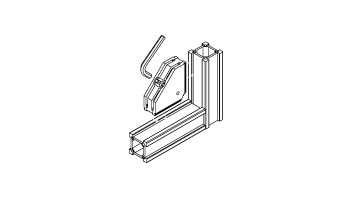
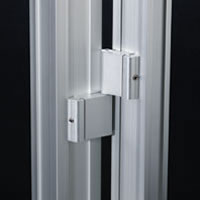
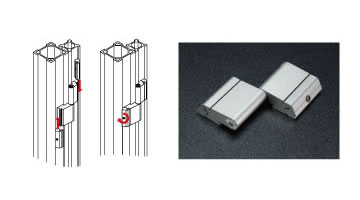
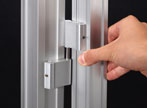
Hinges
- A hinge is installable by setting it in a slot of a frame and tightening a setscrew.
-
How to assemble
-
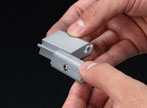
- STEP-1
- Assemble a hinge by sliding a joint piece into a hinge piece.
-
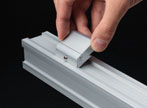
- STEP-2
- Set the hinge in a slot of a frame.
-
- STEP-3
- Tighten a setscrew.
-
- STEP-4
- Finished.
Products Line Up
Aluminum Frame
- SF seriesStandard Frame
- GF seriesGreen Frame
- Sample application and KARAKURI
- AZ seriesSafety Fence
- BF seriesBox Frame
